How to Manufacture Your First Clothing Line Without Feeling Overwhelmed
September 28, 2020
You’ve got a vision for a clothing line that’s bold, beautiful, and ready to shake up the fashion world. But turning your ideas into real garments? That part can feel…a tad overwhelming.
If you’re a designer with big ideas but limited production experience, the good news is this: you don’t have to figure it out alone. With the right plan and the right clothing manufacturer, your designs can move from concept to closet more smoothly than you might think.
Let’s walk through how to get clothing manufactured, from idea to full production, in a way that sets you up for long-term success.
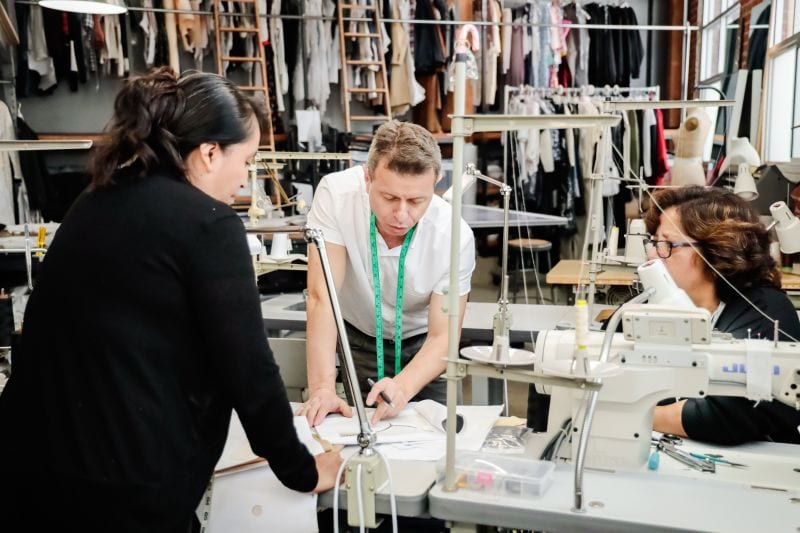
Step 1: Define Your Vision
Before you reach out to any manufacturers, make sure your ideas are clear. That doesn’t mean you need to have perfect sketches or a fully developed business plan. But you should have a rough idea of what you’re trying to create. Think about:
- The type of clothing line you’re building (e.g., loungewear, activewear, or high fashion)
- Your brand aesthetic and inspiration
- Target customer and price point
- The number of styles in your launch collection
If you’re not confident in your drawing skills, that’s okay. Many first-time designers hesitate to move forward because they feel like they need to master fashion terms, learn to sketch, or figure out tech packs on their own. You don’t. The most important thing at this stage is having a clear vision for your brand and the willingness to learn as you go. Great manufacturing partners can help guide you through the process, connect you with technical designers, and explain what comes next. You bring the creativity. They’ll bring the structure.
You can use mood boards, reference images, or even written descriptions to communicate your ideas. A great production partner will help you translate those into technical documents later. They’ll also help you understand which documents they need to get started.
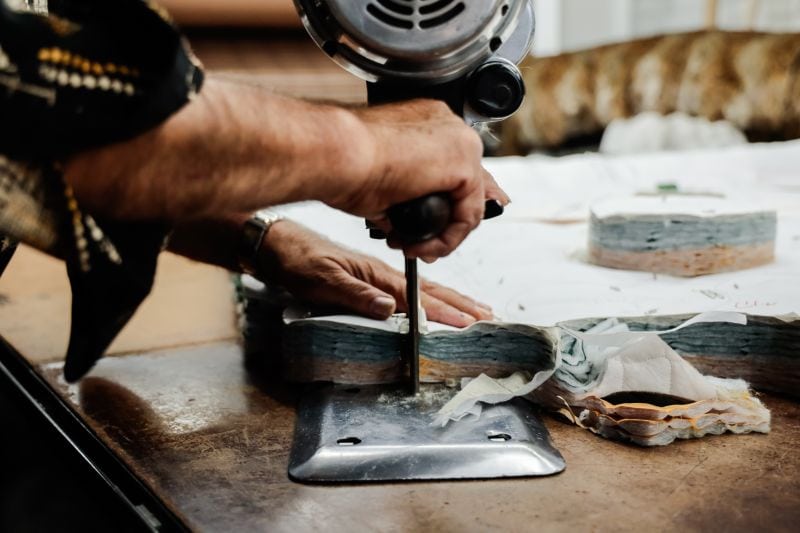
Step 2: Narrow Your Range and Finalize Your Styles
Once you’ve brainstormed your collection, review and refine it. This step, often called a range review, helps you streamline your collection so that each piece fits together cohesively. You’ll want to consider:
- Fabric compatibility across styles
- Color palettes and how pieces pair with one another
- Whether your ideas are financially feasible to produce
You don’t need to start with twenty styles. Many emerging designers launch with just three to five standout pieces. Less is often more, especially when you’re working with a smaller budget or timeline.
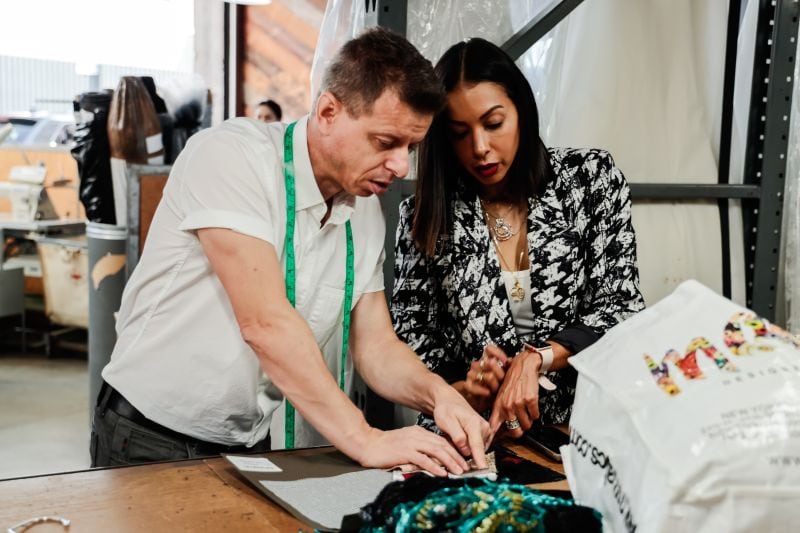
Step 3: Prepare for Production
Before a manufacturer can start making your garments, they’ll need detailed documentation. This includes things like:
Technical Drawings
These flat sketches show your garments from multiple angles, with every stitch, trim, and zipper clearly marked. They’re not stylized fashion illustrations, no. They’re practical tools. And they can help communicate your design to the production team.
Style Handover Sheet
This one-pager outlines key preferences like size range, fabric choices, and the sample size. It helps your garment technologist or technical designer understand exactly what you’re envisioning before sampling begins.
Fashion Tech Packs
The tech pack is the most critical document in production. It combines technical drawings, measurements, fabric details, trims, care instructions, and more. If you don’t already have one, a design-led manufacturer like TEG can help you build one from scratch.
Step 4: Sampling and Revisions
You may go through several sample rounds before production begins. Each sample is tested for fit, fabric behavior, and construction quality. It’s a back-and-forth process: you receive a sample, assess it, give feedback, and the factory updates the tech pack and creates a new version.
Expect to see at least three versions before moving to final approval. Sampling takes time, but it’s worth it. Skipping this step (or rushing through it) can result in expensive mistakes down the line.
By the way? It’s normal to receive a sample and think, “This isn’t quite what I imagined.” That’s exactly what the sample round is for. Fittings help identify small changes that can make a big difference, like adjusting a neckline, tweaking fabric weight, or improving seam placement.
Try not to rush through this phase or get discouraged. Use it as a chance to collaborate. Each round of feedback refines your product and helps the manufacturer better understand your preferences and priorities.
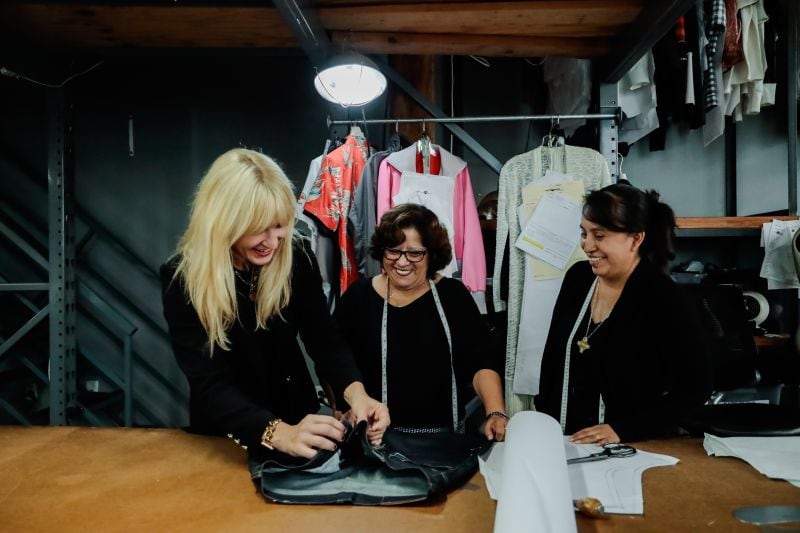
Step 5: Choose the Right Clothing Manufacturer
Finding a clothing manufacturer can make or break your launch. You want a partner who doesn’t just sew fabric together, but who helps bring your entire concept to life. Here’s what to look for:
Quality Standards
Great manufacturers pay attention to construction details, not just fabric and stitching. Ask about their quality control process, from garment shrinkage to colorfastness to finishings like zippers and seams. If sustainability matters to you, look for partners who use recycled materials, eco-friendly dyes, and fair labor practices.
Experience with Your Niche
Choose someone who’s worked with your type of clothing before. Activewear, outerwear, and evening wear all require different materials, techniques, and equipment. The more aligned they are with your category, the smoother things will go.
Production Capacity and Turnaround Times
Can they handle your order volume? Do they offer small batch or no-minimum production? Can they meet your delivery deadlines? At TEG, for example, studio-level production is completed in-house with turnaround times ranging from 4 to 8 weeks or faster with a rush delivery option.
Communication and Transparency
You want a team that keeps you informed throughout the process. Look for signs of professionalism early. Are they clear about pricing? Do they explain their process up front? Are they responsive to questions?
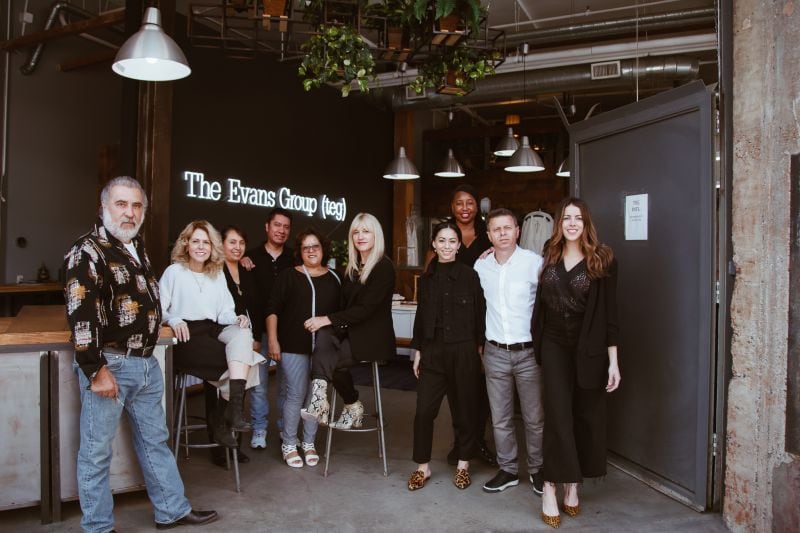
Step 6: Compare Local and Overseas Options
There’s no one-size-fits-all approach to choosing where your clothes are made. Here are the pros and cons of each:
Local Clothing Manufacturers (Like TEG in Los Angeles)
- Easier communication and in-person meetings
- Faster turnaround and shipping
- Higher labor and material costs
- Better quality control and ethical transparency
Overseas Clothing Manufacturers
- Lower upfront costs and large-scale capacity
- Risk of communication breakdowns and delays
- Quality may be inconsistent without strong oversight
- Longer lead times due to shipping and customs
For many new designers, local production offers the chance to stay more involved in the process. And it helps build strong, collaborative relationships with your manufacturing team.
Step 7: Understand the Full Cost of Production
It’s easy to focus just on fabric and sewing, but there’s much more involved in manufacturing. Make sure your budget accounts for:
- Fabric and trims
- Labeling and packaging
- Pattern development
- Sampling and revisions
- Labor costs
- Shipping and fulfillment
Talk to your manufacturer about what’s included in their quote and what might be an additional fee. A good partner will help you find smart ways to stay on budget without compromising quality.
Step 8: Launch with Confidence
Once you’ve finalized your samples and signed off on the production plan, you’re ready to go. But even after your garments are in production, stay close to the process. Keep in touch with your manufacturer to monitor progress, catch any surprises early, and get your marketing ready for launch.
At TEG, we offer flexible services for designers at every stage. Whether you need help translating your idea into a tech pack, or you’re ready to go into full production, our team is here to support you with a streamlined, supportive experience.