The Step-by-Step Clothing Line Process in Los Angeles: From Design to Delivery
February 12, 2026
Starting a clothing line is exciting and confusing at the same time. Do you start with fabric or patterns? When do samples happen? What needs to be approved before production?
This step-by-step guide breaks down the clothing manufacturing process from design to delivery. You’ll get a clear roadmap, plus practical prep notes for each stage, helping you make the right decisions.
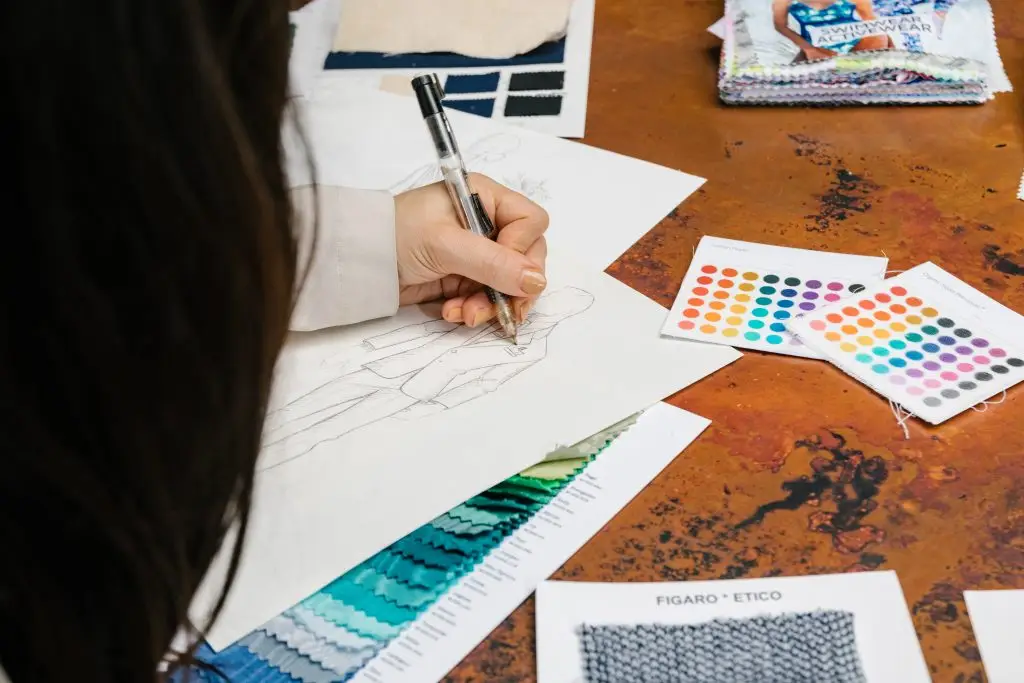
Phase 1: Development
Step 1: Find the Right Team & Shape Your Idea
Starting a fashion line for the first time is overwhelming – and most of the first-timers need guidance. A strong clothing manufacturer (or a fashion development team) helps you map the process and avoid early mistakes, especially if you’re comparing cut and sew manufacturers and service options. Industry experts can help you to clarify the goal and vision of your line.
Bring to your first meeting:
- Sketches or a mood board
- Reference styles (links/photos)
- Target customer + price tier
- Size range goals
- Your top questions (process, timeline, next steps)
With your concept clarified and support options mapped, you can refine the designs and start sourcing with purpose.
Step 2: Design & Sourcing
Now you refine the designs into production-friendly garments, finishes, trims, construction details, and fabric requirements. Your fabric choice affects everything that comes next — fit, drape, stretch, and sample behavior.
You should leave this step with:
- Key design decisions (closures, trims, finishes)
- Fabric requirements (weight, stretch, recovery, hand feel)
- Color direction (stock vs custom)
- Trims/notions list (labels, elastics, hardware)
Once your design decisions and sourcing direction are set, the next priority is getting materials in hand so sampling can move forward.

Step 3: Fabric Receipt & Fabric Management
Once fabrics and trims are received for all styles, development runs smoother. Fabric management is also where quality issues, like shade variation across rolls, missing trims, incorrect yardage, or mismatched dye lots, are prevented early.
Confirm before sampling starts:
- Core fabrics received and approved
- Trims/hardware received (or confirmed ETA)
- Lab dips/approvals completed (if relevant)
- Consistency checked across rolls (when relevant)
Once materials are confirmed, sampling can move forward without stalling or last-minute substitutions.
Step 4: Set a Realistic Timeline & Checkpoints
Most first-time founders underestimate lead times for sourcing, sample rounds, and approvals. Whether you work full-service or with separate specialists, you need clear milestones and decision points.
Define your checkpoints:
- Target launch date (and what “launch” means for you)
- Sample milestones (first sample → fit revisions → final approval)
- Material deadlines (fabric/trims approved + received)
- Production readiness gate (approved sample + specs + size plan)
- Weekly decision points

Step 5: Pattern & Sample Making
At this stage it is essential to find the right technical expert — pattern maker (or team) — who can turn your design intent into clear specifications, precise patterns, and production-ready results.
The process typically looks like this: a pattern intake conversation to align on fit and construction → first pattern draft → first sample → fit review → revision rounds until the sample matches your specifications. If you’re searching for clothing sample makers or a clothing factory in Los Angeles, TEG supports this entire stage from pattern development to sampling and fit refinements.
What you should review with your patter and sample maker:
- Measurements + intended size range
- Reference garments + fit priorities
- Fabric/trims (or confirmed sourcing plan)
- Approval criteria (what “ready” means)
- First-sample checks: silhouette, fit, construction, fabric behavior
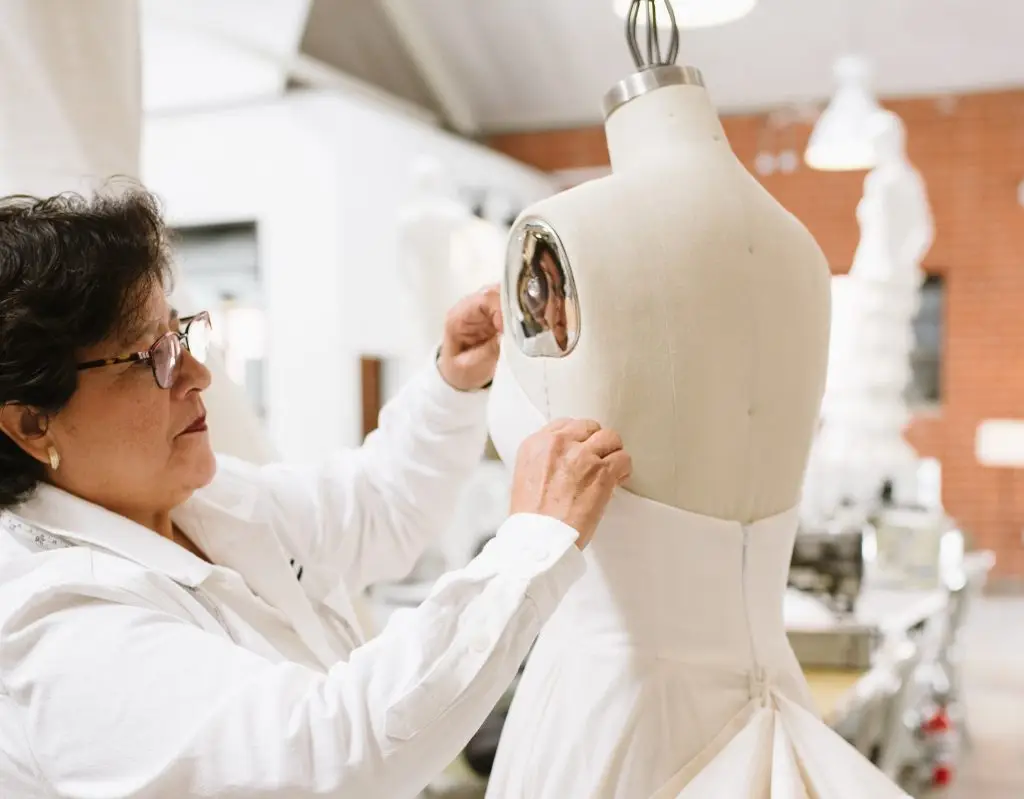
Step 6: Fittings & Adjustments
Fittings are where you refine fit and function. Keep revision cycles efficient by documenting changes clearly and updating specs when decisions change.Keep revisions clean by documenting fit notes in a consistent format, tracking changes by round, updating specs after each decision, and confirming clear “final approval” criteria.
Step 7:Development Sign-Off & Production Plan
Once fit is approved, lock the development package for production. This step is about clean handoff: final pattern, final sample, final specs, and a clear size plan.
Mini checklist: development sign-off package
- Approved sample + duplicates as reference
- Approved pattern
- Final specs/notes
- Confirmed size range plan for grading
- Production priorities confirmed (quality, timeline, quantities)
By the end of development, you should have an approved sample, final patterns, and updated specs. With those locked, you can move into production planning — grading, cutting, and consistent execution at scale.
If you want hands-on guidance as you make these decisions, you can contact one of our mentors.
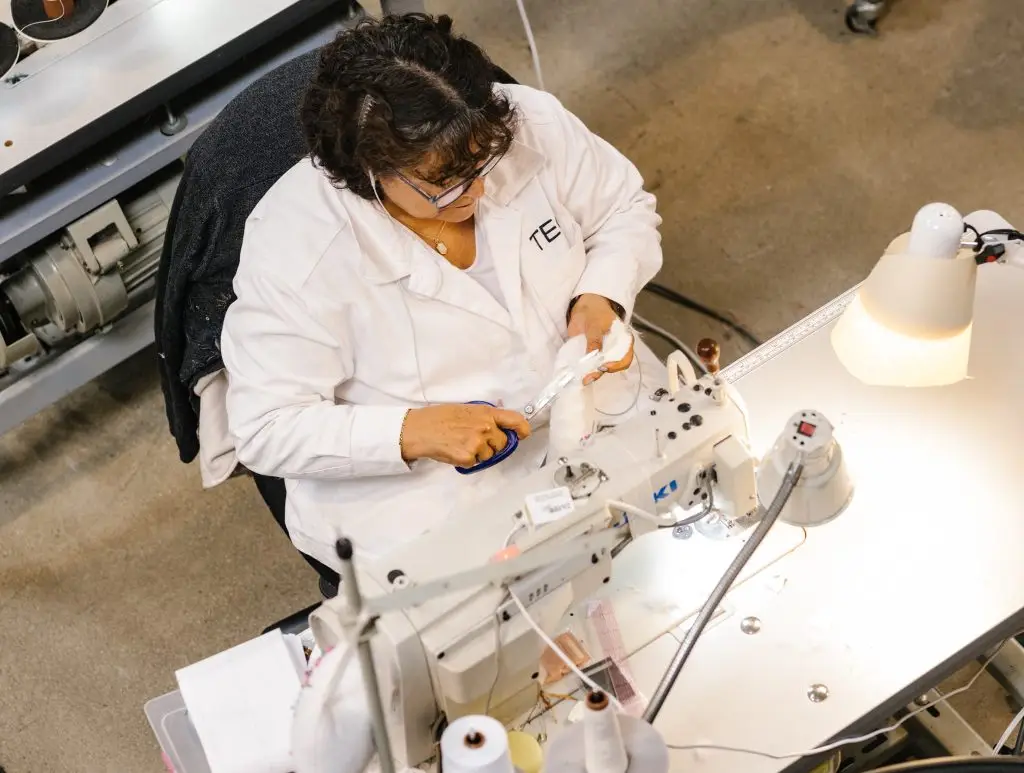
Phase 2: Production
At the production stage your approved sample becomes consistent, repeatable units. This phase is about repeating the pattern across the run, sizes and every detail.The biggest challenge for many designers is finding the right cut & sew manufacturer that can deliver consistent quality, communicate clearly, and scale without surprises.
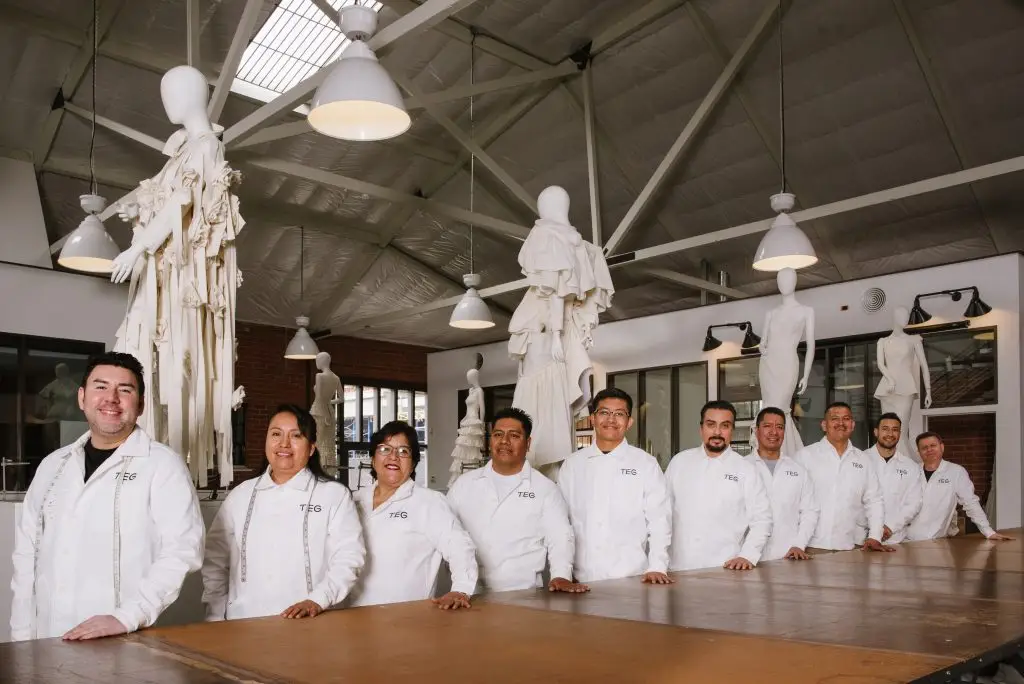
At The Evans Group (TEG), we specialize in cut and sew manufacturing, offering tailored clothing and apparel production services for emerging and established designers across the U.S. Whether you need small-volume, intricate designs or scalable factory-level production, our expert team ensures your vision comes to life with precision and care.
Step 1: Production Intake & Deliverables
This is the handoff from development to production. You’ll confirm a realistic timeline, lock your size range, and agree on the standards the production team will follow. Everything is built from your approved sample and final specs/tech pack. With standards and deliverables agreed, production prep begins.
Step 2: Grading, Marking & Cutting
Next, patterns are graded into your predetermined size range, then markers are created to guide cutting layouts. Grading protects fit consistency across sizes. Marker making supports efficiency and helps reduce fabric waste. Then industry experts cut your designs into shape. When cut sets are prepared and labeled, you move to the final check point.
Step 3: Top of Production (TOP)
Before the full run moves forward, Top of Production (TOP) acts as a checkpoint. A first unit (or small set) is sewn off the production line to confirm that the bulk materials, construction, and finishing match your approved sample and specifications. This is the moment to catch issues like trim placement, stitch details, measurement consistency, or fabric behavior in bulk early while adjustments are still manageable.
Step 4: Production Sewing & Quality Check
Once TOP is approved, the team proceeds into the full production run. Quality control happens alongside sewing and again after garments are completed. The goal is consistency: the same fit, finish and details across every size and piece. After QC sign-off the final step is packing and delivery.
What gets checked:
- Key measurements and tolerances
- Stitch quality and seam strength
- Trim/hardware placement and security
- Labeling basics (fiber content, care, country of origin where applicable)
- Visual consistency across the run (same look and feel)
Step 5: Delivery
Production is complete and ready for delivery. Deliver first orders and launch your new clothing line with brand new designs. If you plan to scale, keep your final approved package (sample + specs + notes) organized — because it becomes the reference for reorders and future drops.
With finished units packed and delivered, your collection is ready for the launch.
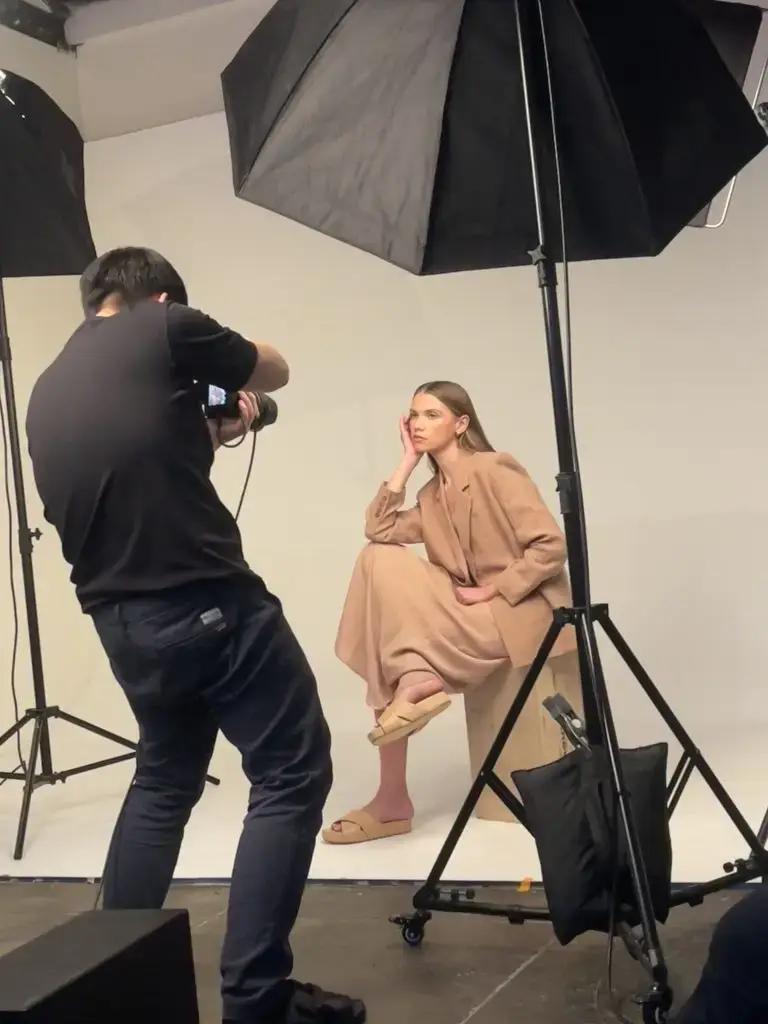
Phase 3: Marketing
Great product isn’t enough if it isn’t presented with the same level of care. Marketing is how people experience your brand before they ever touch the garment. It is where your craftsmanship becomes a brand story, told through visuals, web experience, and the details that make your line feel premium. This phase is about making your collection look as strong online as it does in reality.
Branding
Branding is how your collection feels before someone ever tries it on. Collaborate with branding experts to refine your visual identity and apply it consistently across touchpoints — logo, labels, hangtags, and packaging.
Web Design and Development
Your website should make it easy for customers to understand the brand and buy with confidence. A user-centric layout, clear navigation, and strong product pages help reduce drop-off and improve conversions, especially during a launch when attention is limited.
Photography
Strong visuals sell the details you worked hard to perfect. You can plan catalog, product, and lifestyle shoots, and if needed, use the TEG Studio and get connected with the right photographers and creatives to match your budget and aesthetic.
Social Media Marketing
Social media marketing helps translate your process and product into measurable launch momentum. The focus is to build credibility, increase product interest, and move audiences from awareness to action, driving repeat purchases.
Online Marketing Plan
A marketing plan helps you focus on the channels and messages that will drive results. Elevate your business achievements with expert sourcing and data-driven strategies to plan your launch timeline, content themes, and campaigns.
Final Thoughts on the Clothing Line Process
By now, it should be clear that launching a clothing line is far more manageable when the process is broken into the right stages. Development, patterns and sampling, production, and quality control each serve a specific purpose and when they are handled in the correct order, your vision can move forward with clarity and consistency.
Need help getting started? Not sure what you need before production?
If you’re ready to bring your designs to life, The Evans Group (TEG) is here to guide you—from development and sourcing to patterns, samples, and cut & sew manufacturing in Los Angeles. Reach out today, and we’ll help you map your next steps with clarity and care.